Welcome to BUYABLES, a new series that will show you how to upgrade your life and the things you need to buy along the way. VICE Media makes a small commission on products linked in this article.
There’s no shortage of controversy associated with using a mouse and keyboard on consoles. Some players go as far as calling it a form of cheating, but there’s also no shortage of good, legitimate reasons for someone to want to play console games with the input method of their choice.
Videos by VICE
Some people might be used to playing first-person shooters on PC, but want to connect with their friends, who all happen to be playing Destiny 2 on Xbox One or PlayStation 4. Others might prefer to play with a mouse and keyboard, but on consoles, which are cheaper and easier to set up. Either way, at the moment, there is no sign that game developers and console manufacturers intend on doing anything to stop people from using a mouse and keyboard, so if you’re interested, this article will tell you how you set that up.
I’m writing this guide for a desk setup, which I consider the ideal way to play with a mouse and keyboard, but if you prefer to remain a console couch potato, make sure to skip down to the “But what if I want to play on the couch?” section before you start buying everything you need.

What you’ll need
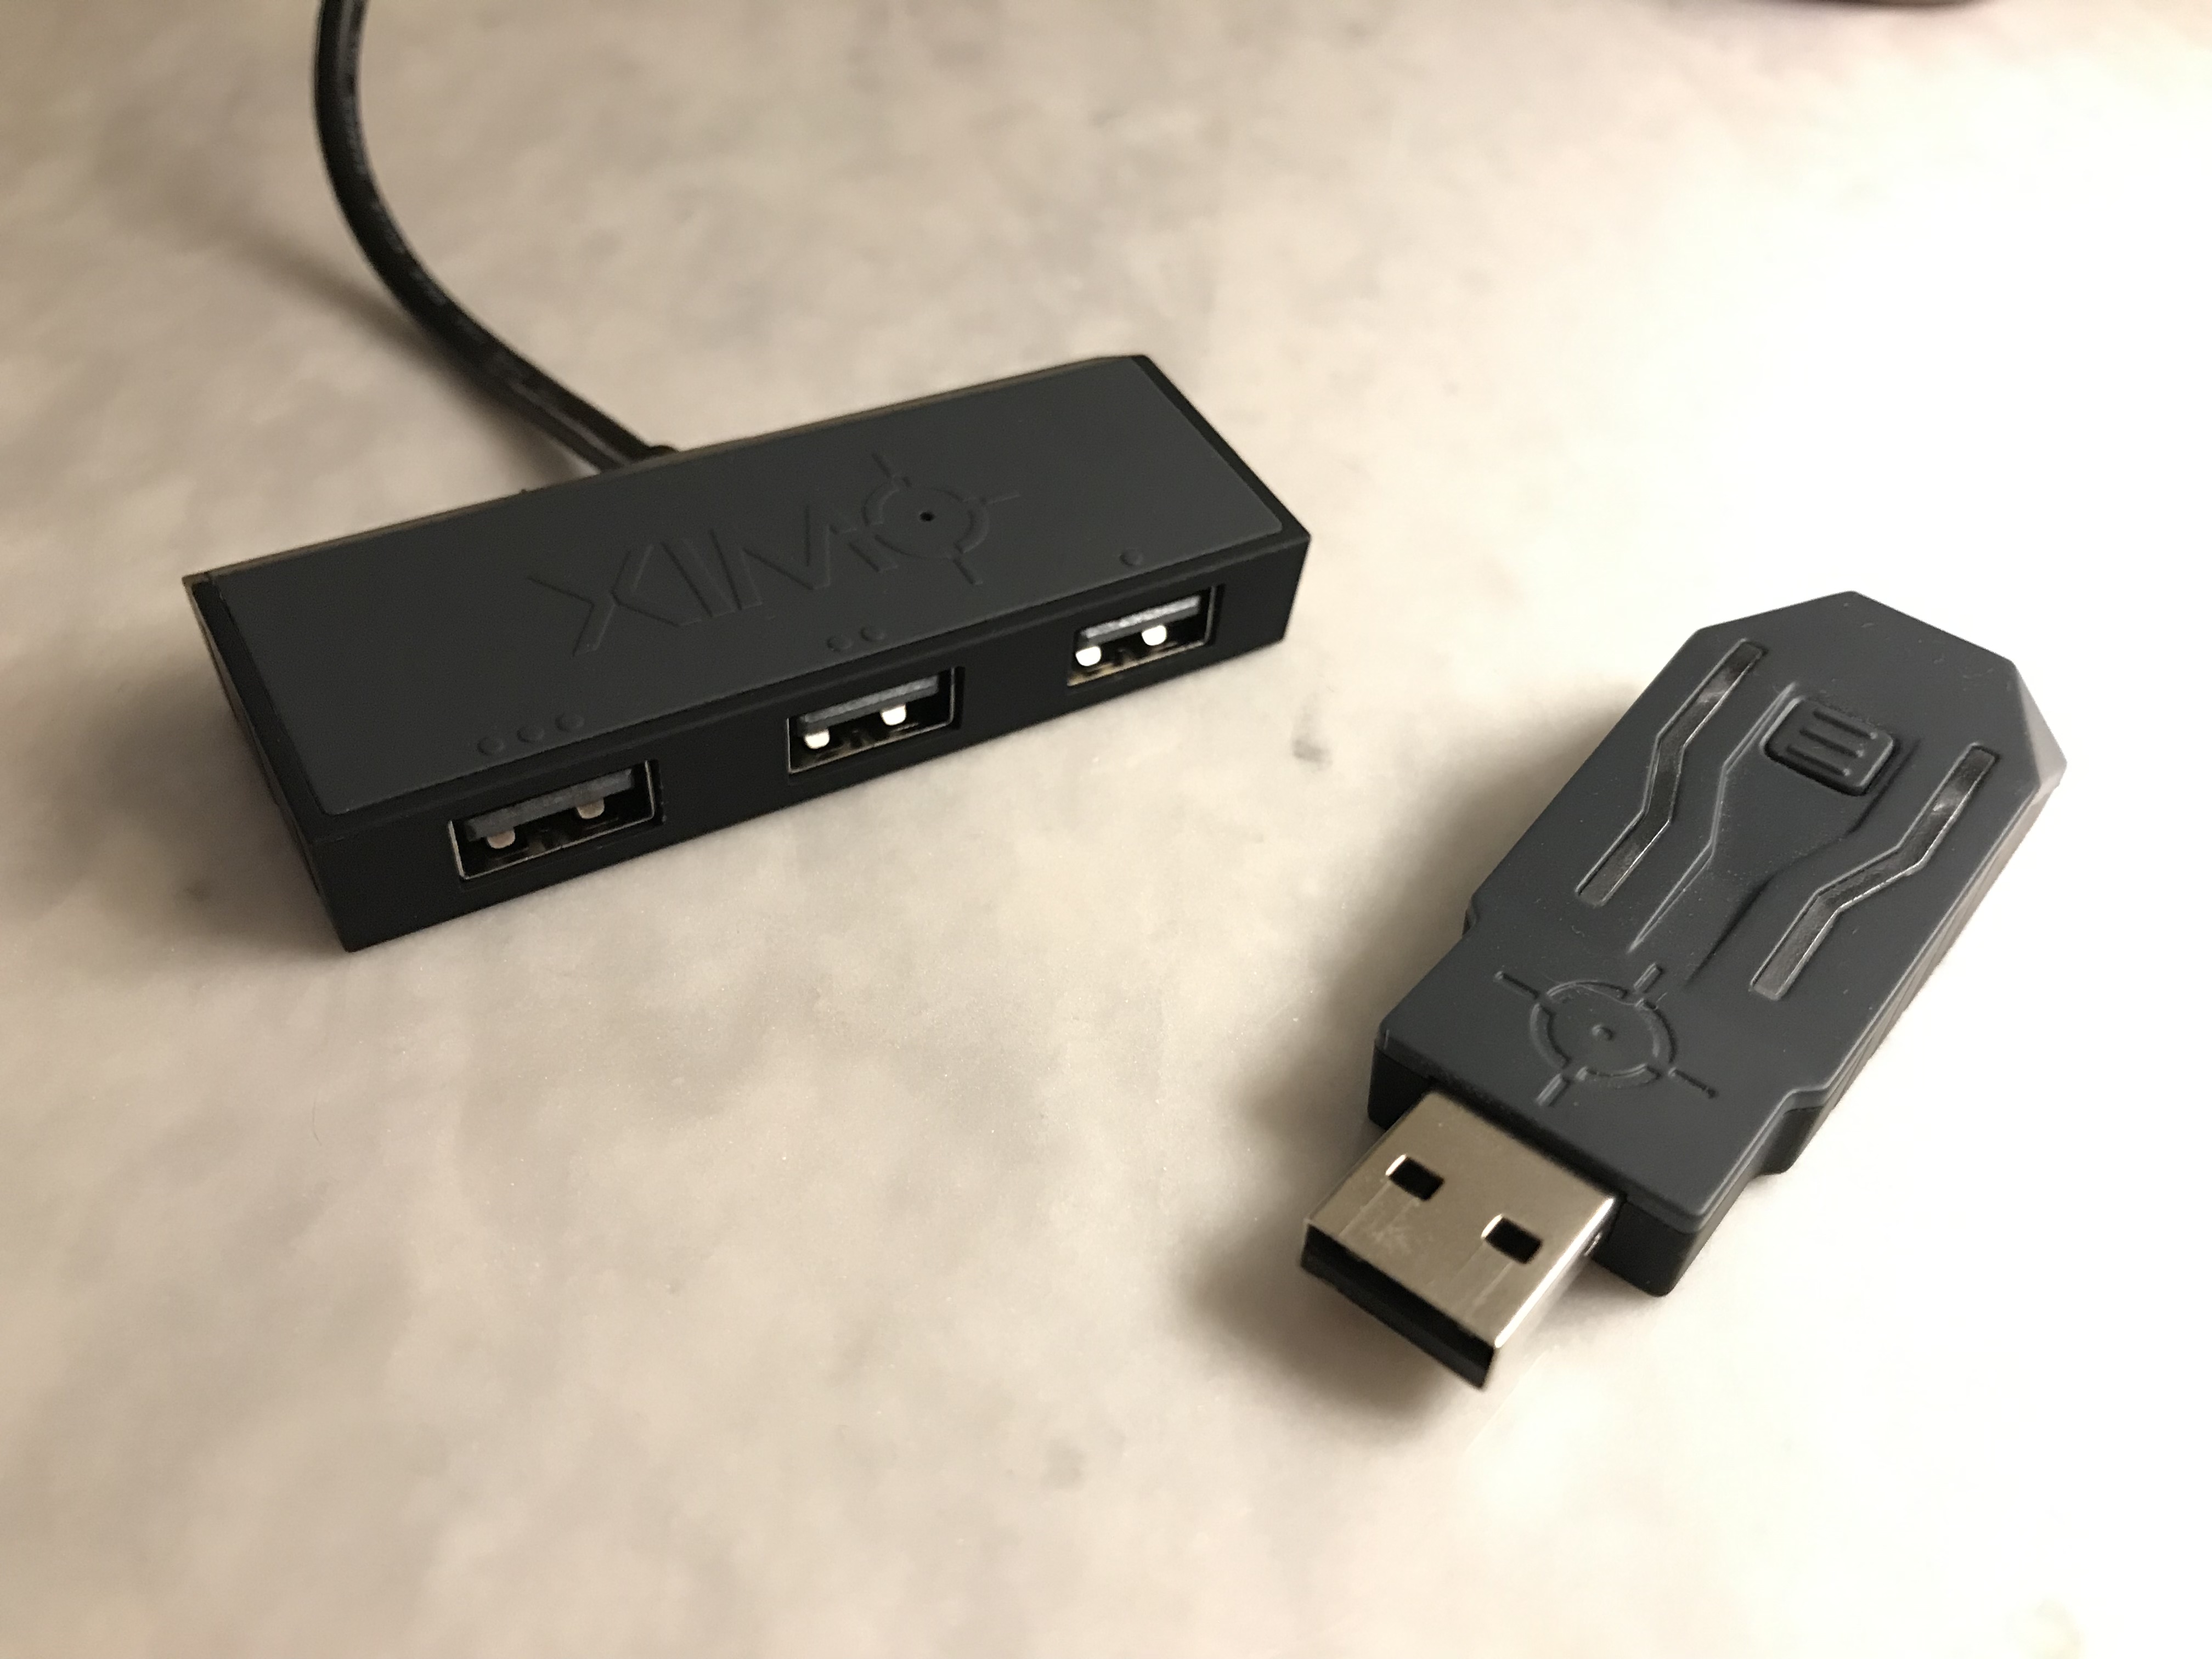
XIM Apex: This is the key component you need to play with a mouse and keyboard on consoles, and the reason we’re writing this guide. It will work with an Xbox One, PlayStation 4, Xbox 360, and PlayStation 3. There are other devices, like PlayStation’s officially licensed TAC PRO M2 for PlayStation 4, Keymander, Venom-X, and Titan Two, but the XIM Apex is the best reviewed of the bunch and the one we’ve tested and can recommend. Unlike its competitors, the XIM Apex doesn’t require users to tinker with complicated deadzone and acceleration settings. You should set it to the sensitivity that feels right to you, but otherwise it will feel more or less like playing a game on a PC once it’s set up.

Mouse: XIM has a list of mice that are known not to work with XIM Apex, so as long as you avoid one of those you should be fine. However, I would not recommend using just any mouse you already happen to have if you’ve never used it for games before. I have a Logitech G502 which I love and that worked great with the XIM Apex, but any mouse from PC Gamer‘s recommended list will work.
Keyboard: As with the mouse, XIM has a list of keyboards that are known not to work with XIM Apex, so avoid those (careful, there’s an Amazon Basics keyboard on the list). Any other USB keyboard will work. I used a Razer keyboard and a WASD keyboard.
Mousepad: Not a must, but if you’re going to be playing a lot I can recommend the Logitech G440.
Xbox One or PlayStation 4: If you’re buying a console just for this occasion, buy whichever console your friends are on. All things being equal, I prefer the Xbox One S, Xbox One X, or PlayStation 4 Slim because they’re smaller and take up less space on your desk.

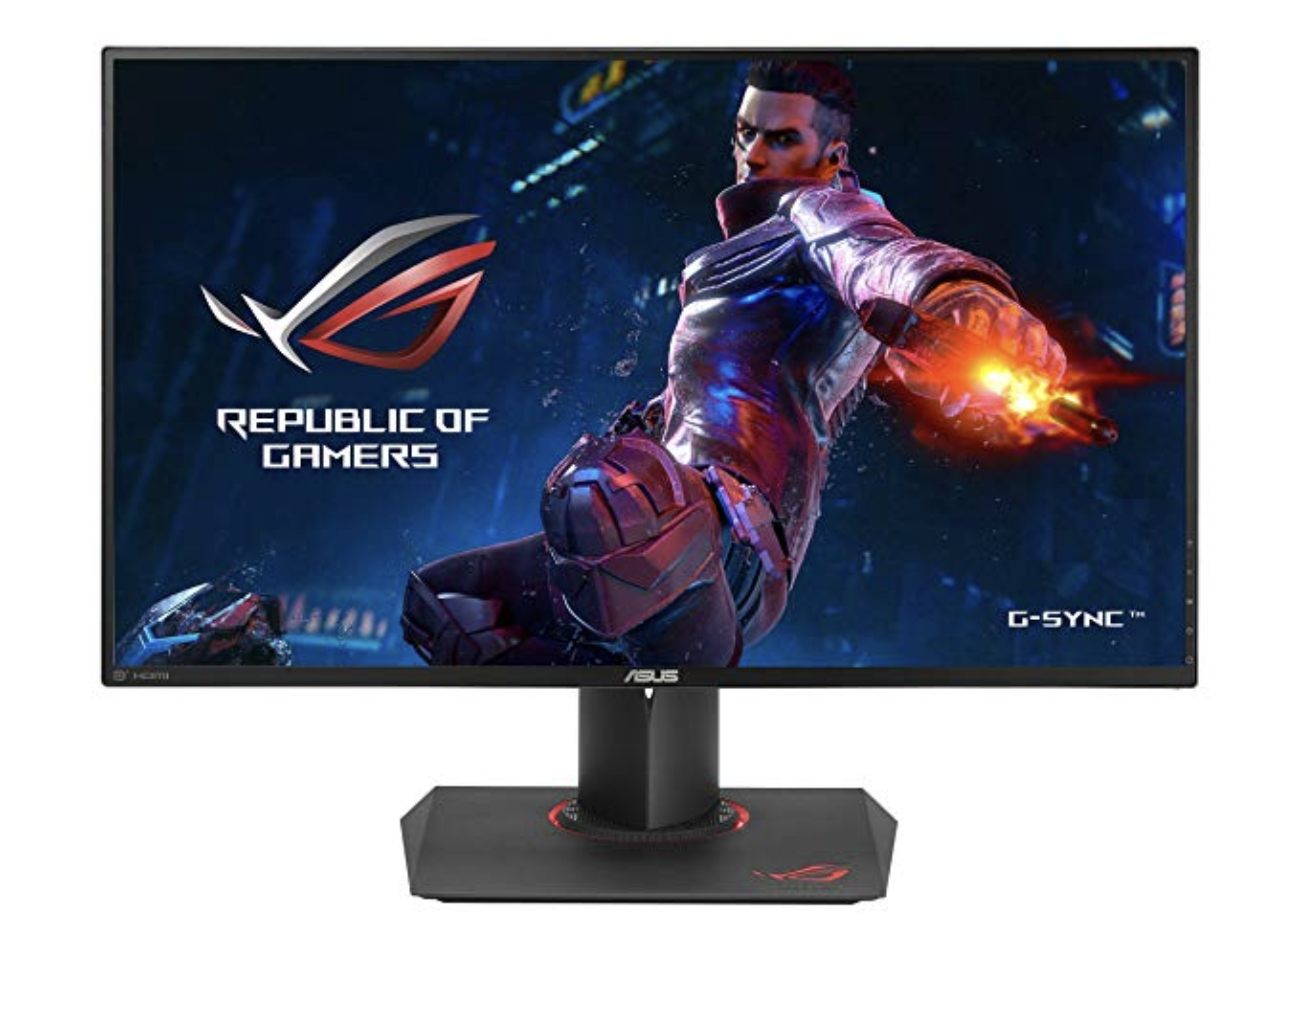
Screen: In the unlikely chance that you’re buying a monitor just for this setup, my primary piece of advice is to get a monitor that has multiple HDMI ports. I happened to have already splurged for a fancy 27 inch ASUS ROG Swift (I love it), but any monitor that allows you to easily change inputs will do. Presumably, your mouse and keyboard console setup will share a screen and desk with your normal computer setup, and being able to switch HDMI inputs with the press of a button is much easier than plugging and unplugging HDMI cables every time you want to switch between console and computer.
Updating and preparing your XIM Apex
The first thing you want to do is make sure that your XIM Apex has the latest firmware update. If you prefer a video guide, XIM has an official guide here. If you prefer text, read on.
- The XIM Apex comes with two pieces of hardware: The XIM Apex itself, which looks like a thumb drive with a USB plug on one end and a USB port on the other, and a USB hub, which looks like a dongle with three USB ports. To update the firmware, take the XIM Apex and hold down the button (there’s only one) as you plug it into your computer.
- Keep the button pressed until the XIM Apex lights up blue (this should happen almost immediately).
- Download and run the XIM Apex Firmware Tool for PC or Mac, you can find both version here.
- Select the “Update Firmware” option and wait for the update. You’ll get a notification that the XIM Apex was updated successfully.
- You’ll want to have your phone prepared with the XIM Apex Manager app. Download it from Google Play if you’re on Android and the App Store if you’re on iOS.
- This will depend on the mouse and screen that you’re using, but XIM recommends that your mouse DPI will be set to maximum. DPI stands for dots per linear inch, and is a measurement of how much your cursor on the screen moves when you physically move the mouse an inch. The higher the DPI, the more the cursor will move on the screen when you move the mouse. XIM also recommends you set your screen set to “game mode.” (full disclosure: I forgot to do both of these at first and didn’t notice a difference)
- Finally, if you’re using the XIM Apex with a controller that came with a PlayStation 4 Pro or Slim console, you need to do one more, one-time setup step. Go to the PS4 dashboard > Settings > Devices > Controllers > Communication Method, and set it to “Use USB Cable.”
Setting up the XIM Apex
If you prefer a video guide, XIM has an official guide here. If you prefer text, read on.
- Make sure your mouse, keyboard, XIM Apex, controller, and the included USB hub are all ready to plug into the console.
- Connecting your mouse to port one in the XIM USB hub, and the keyboard to port two
- Make sure your controller is off and connect it to port three, preferably with the standard USB cable that came with your console.
- Plug the USB hub to the XIM Apex.
- Make sure your console is on, and connect the XIM Apex to the console.
- Once the XIM is successfully connected, it will flash green lights.
- At this point, your controller should work in-game, but the mouse and keyboard will not because you haven’t configured the XIM Apex yet.

Configuring the XIM Apex
Open the XIM Apex Manager app on your phone.
- Review and accept the license agreement, and download the latest update.
- At this point, the app will try to connect to the XIM Apex via bluetooth. While the app shows that it’s trying to connect, press the button on the XIM Apex. You only have to do this once. From now on, the app will connect to the XIM Apex automatically.
- Use the app to choose the game you’re playing, and the console you’re playing it on. Each game controls slightly differently, so if the game you choose through the app doesn’t match the game you’re playing, chances are you’ll have a poor experience.
- The XIM Apex will flash white while it’s communicating with the app, when it’s finished, it will display solid yellow while the XIM Apex’s flash memory is being written. Never unplug the XIM Apex while it’s doing that!
- The app will then explain how to configure your game so it works well with the XIM Apex. The specifics will vary slightly from game to game, but usually this involves going into the game’s menu and turning the sensitivity way up. Just follow the app’s instruction and you should be fine.
- At this point, you’re ready to play with a mouse and keyboard on console, but I highly recommend you tweak the sensitivity settings first. Do this by pressing the pencil icon in the top left corner of the app. This will open an “Edit config” screen where you can change the aim sensitivity. There’s one setting for hip aiming, and one for aiming down sights (ADS). What number you land on depends on what you’re used to, but I found the default sensitivity to always be far too low. Keep fiddling with it until it feels like what you’re used to on PC.
- This Edit config screen is also very useful for keeping track of what keys are mapped to. Obviously, the in-game, on-screen instructions and HUD will display your console’s buttons because it assumes you’re playing with a regular controller. If you can’t figure out how to jump, for example, this screen will tell you what button to use and also allows you to remap if you don’t like the default button configuration.
But what if I want to play on the couch?
I wouldn’t recommend it, but if you don’t want to or don’t have the option to play a console with a mouse and keyboard at a desk, you should probably get some couch friendly equipment.
- I’ve used and can easily recommend the Razer Turret Lapboard.
- Corsair and Roccat also have lapboards (which are also recommended by PC Gamer), but I haven’t tested them myself, and in my opinion they’re a little bit of a living room eyesore.
Other tips
- Setting up the XIM Apex is going to involve a whole mess of cords. There’s no way around this. It’s not a perfect solution, but getting some zip ties can help.
- As even the XIM’s creator makes clear, the XIM Apex isn’t going to provide you with a PC-equivalent experience. There are certain limitations that are baked into how a console game controls—namely a maximum turning speed—that no device can get around. So spend some time tweaking sensitivity settings to make it feel as good as possible, but keep in mind that it’s not going to be perfect. If you find that you can’t turn around as quickly as you’d like, chances are that you’ve just hit the game’s turning speed limit. You can even confirm that’s the case because the XIM Apex will flash red when you do.
The Buyables
More
From VICE
-

Screenshot: Butterscotch Shenanigans -

AEW -

Screenshot: Train Sim World (YouTube) -

Jamali with Chicago gang members.
