In March, the price of an Ether cryptocurrency token rose to an all-time high of around $25. This was good news for investors in Ethereum—the blockchain-based distributed computing platform that uses Ether as its currency—who had watched the cryptocurrency’s price stagnate at under $10 since its launch in July 2015. But it also had another profound effect on shaping the network: For the first time ever, it was truly profitable to mine Ether.
I had been entertaining the idea of building an Ethereum mining rig for months and the price surge in May made it seem like as good a time as any to begin the process. So I sold some of my Ether, bought some computer hardware, and set to work learning about building PCs and the art of Linux.
Videos by VICE
But before I dive into the unnecessarily painful process of setting up an Ethereum mining rig as a complete n00b, let’s brush up on some Ethereum basics.
Mining is the term used to describe the process of extracting cryptocurrency tokens from a blockchain network. In the case of Ethereum, this involves having computers continuously run a hashing algorithm, which takes an arbitrarily large amount of information and condenses it to a string of letters and numbers of a fixed length. The hashing algorithm used by Ethereum— called ethash—hashes metadata from the most recent block using something called a nonce: a binary number that produces a unique hash value. For each new block in the blockchain, the network sets a target hash value and all the miners on the network try to guess the nonce that will result in that value.
Due to the way cryptographic hashing works, trying to guess the nonce that will result in the target value is practically impossible. This means that the only way of finding the correct nonce is by cycling through every possible solution until a correct one is eventually found. This is “proof-of-work,” which means the computer which discovered the correct nonce must’ve actually done the work (i.e., used computing power to run the hashing algorithm) to arrive at that value. The miner that finds the correct nonce is then awarded the block, receives 5 ether, and the process then begins anew in a cycle that recurs about every 12 seconds.

Okay so that’s the big picture, but what does this look like on the mining side of things? For starters, a rig is going to need some serious processing power. This is best accomplished with Graphics Processing Units (GPUs), which are generally used for 3D graphics for video games. Although it’s possible to mine with Central Processing Units, which are generally responsible for linking up all the right hardware and software in a computer, GPUs are optimized to run similar operations over and over again—which makes them perfect for hashing on the Ethereum blockchain.
This is where the problems begin. Now that the cost of electricity to mine Ethereum is far less than the worth of the Ether being mined, there has been a boom in the number of miners on the Ethereum blockchain. Until cryptocurrencies came around, GPUs were the sole purview of PC gamers, but now that they can also be used for mining, there is a complete shortage of GPUs on the market. Unless you’re trying to buy used hardware, tracking down a GPU will be difficult for the foreseeable future.
Read More: Cryptocurrency Mining is Fueling a GPU Shortage
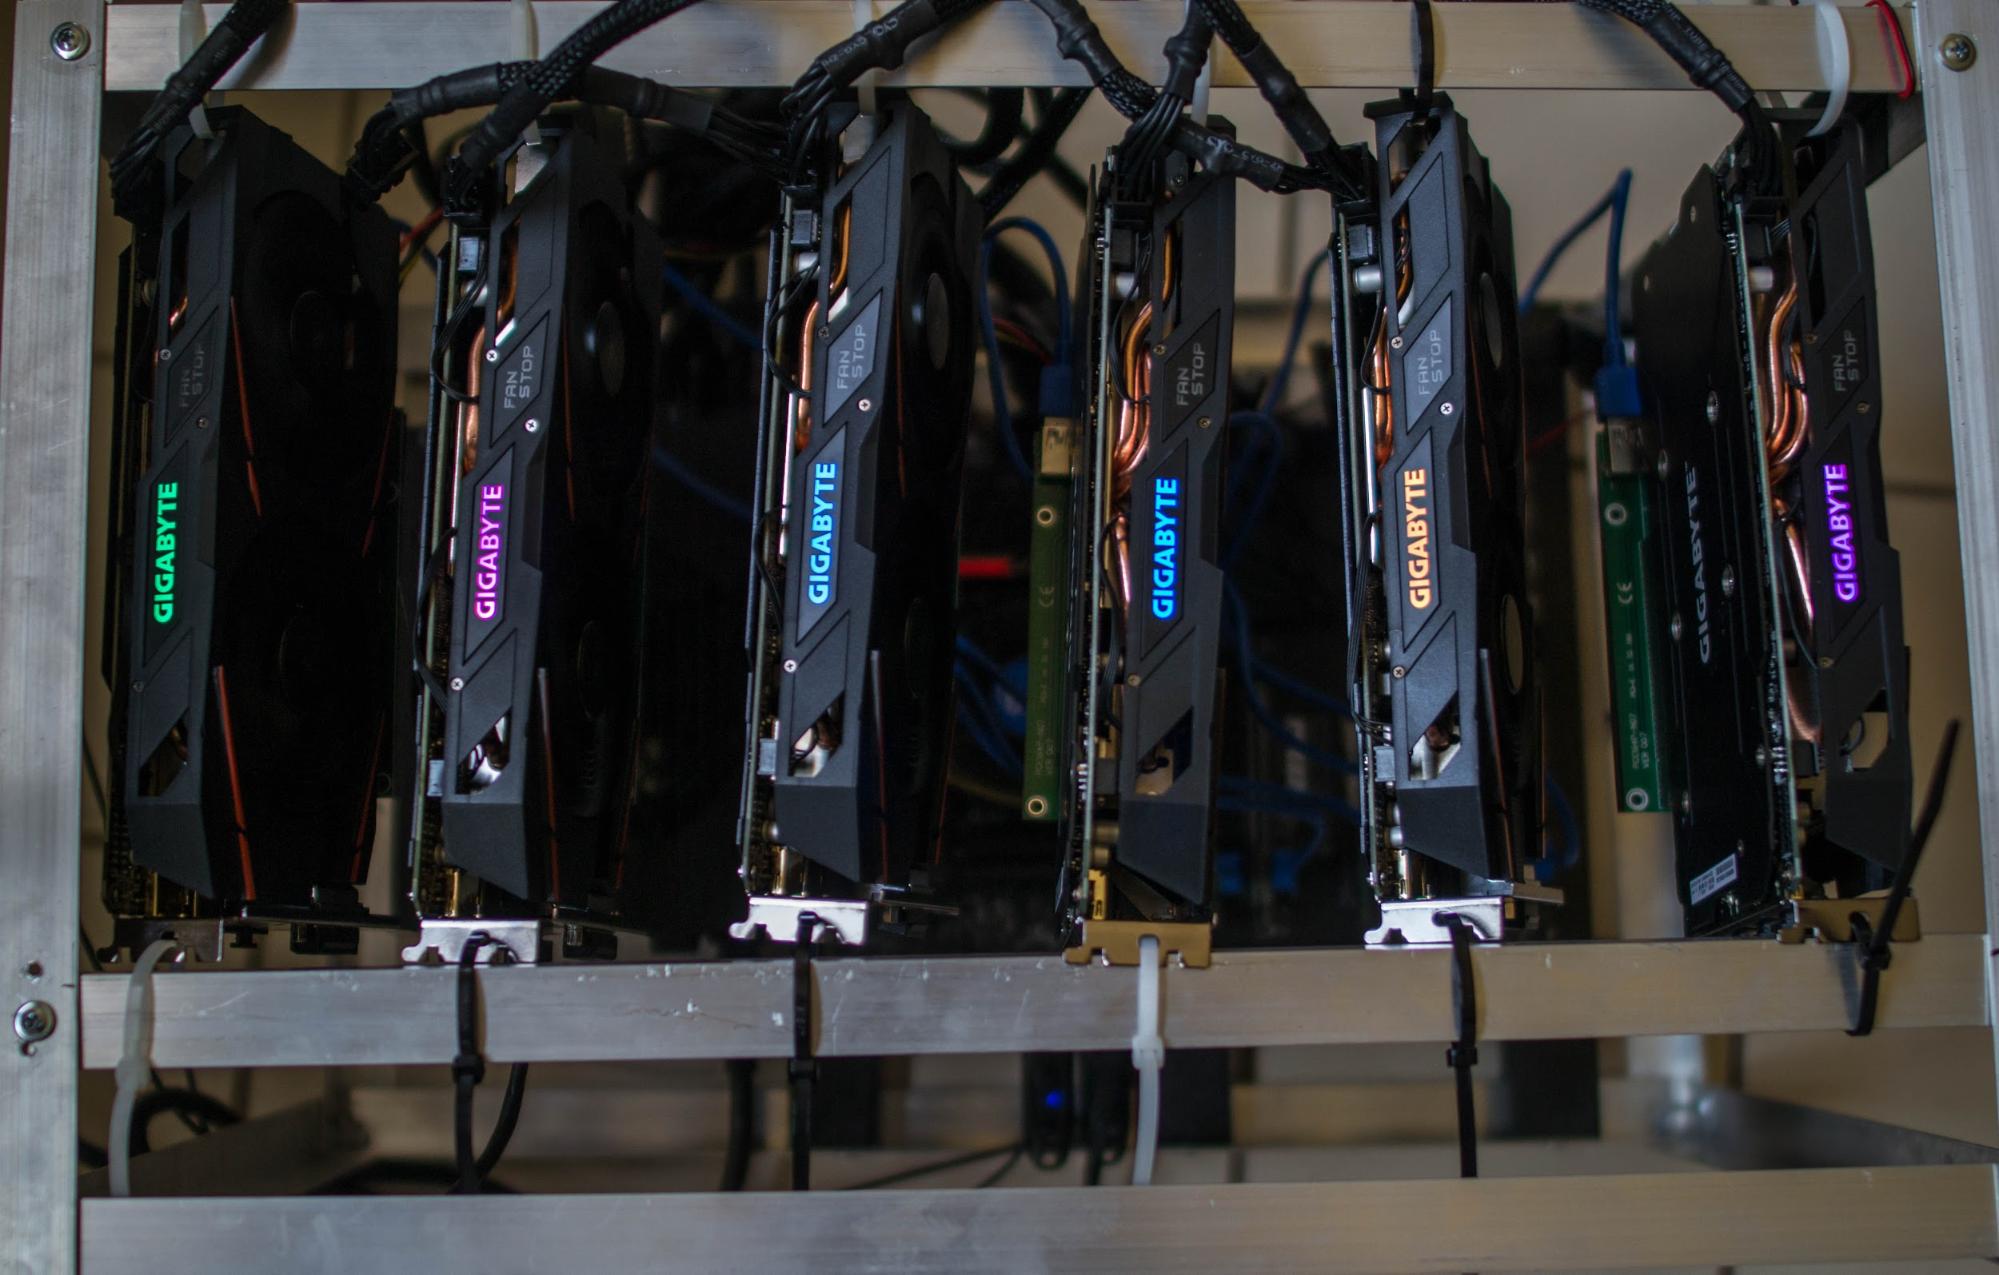
I was fortunate enough to have secured six RX 470 GPUs right as the price of Ether started skyrocketing. Still, at this point GPUs were incredibly difficult to track down and I had to settle in terms of performance. But this was better than nothing—within hours of ordering my GPUs, the site had sold out of the rest of its stock.
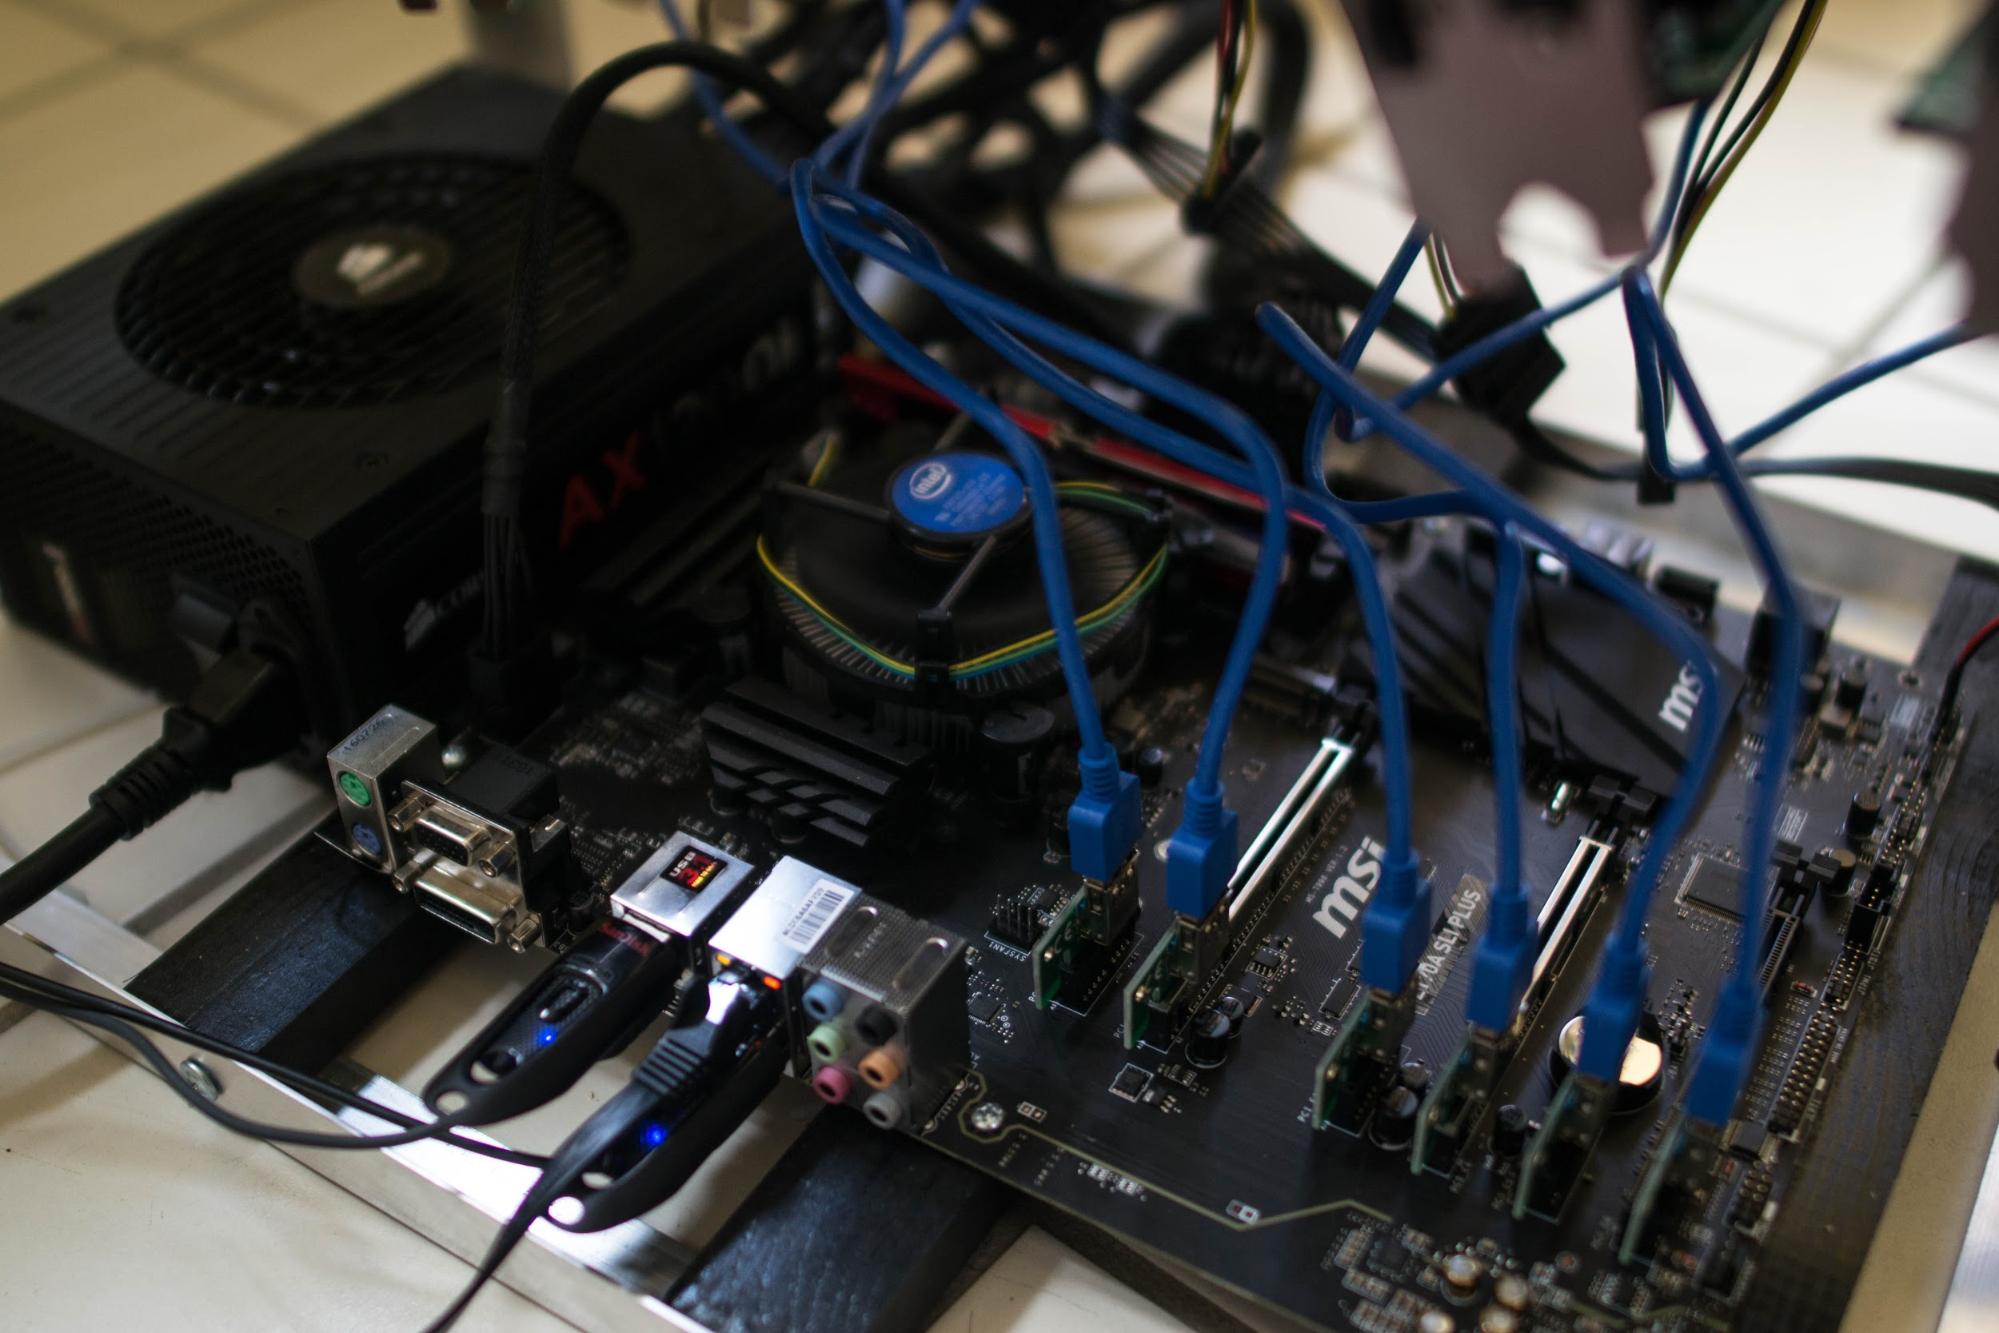
If you’ve somehow managed to get your paws on some graphics cards, the next task is finding a motherboard and power supply unit that can handle all of your GPUs running at once. For this task, I got an MSI Z170a motherboard and a 1200 watt Corsair power supply. Each GPU will use anywhere from 100-250 watts of power. Mine average around 120 watts apiece, which puts the total rig around 800 watts. Power supply units function optimally at around three-quarters of their total load capacity, so a 1200 watt PSU suited my needs.
You’re also going to need some powered risers since six GPUs are not going to fit directly into the PCI slots on any motherboard. These also allow you to suspend the GPUs above the motherboard in your case which helps to dissipate heat and allow air to flow through the rig.
I used a dual core Intel processor with 2.8GHz and a 4GB TForce stick for my CPU and RAM, respectively. It’s nothing fancy, but mining Ethereum doesn’t require your computer to do much multitasking so cheaper CPUs and RAM will do the trick.

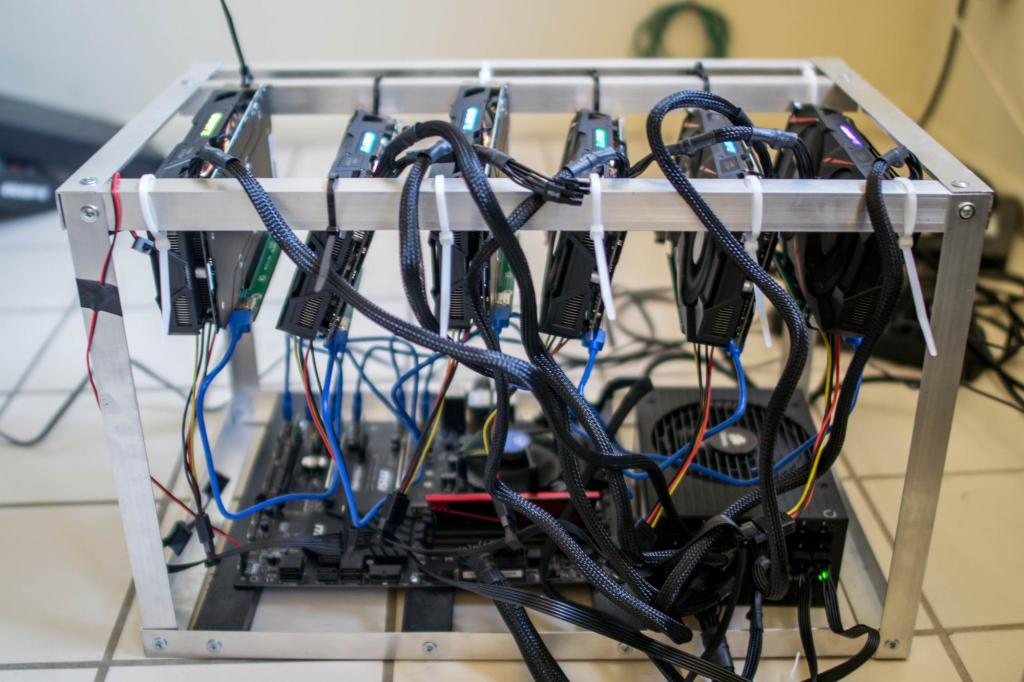
The final element on the hardware side of things was the rig’s case. Your typical PC case isn’t going to fit six graphics cards, so a custom case is necessary. A lot of companies sell pre-made mining rig cases online, but these can cost upwards of $150 and seemed easy enough to build myself. I made mine with some aluminum angles I had cut at a local hardware store, a few wooden boards for mounting the motherboard, a few dozen self-driving screws, and a power drill.
All told, the process of making a case took about an hour and cost a little under $50. When added to the total price of the hardware for the rig, my bill came to a little over $2000.
Now that the computer is all set up and looking nice*, it’s time for the software.
(* It is said that beauty is in the eye of the beholder. Motherboard staff writer Jason Koebler saw my machine and described it as “Not Safe for Life.” Motherboard news editor Emanuel Maiberg described it as “filthy.” Clearly, neither of them have any taste.)

Here your options are relatively limited: you can run your rig on Windows, Linux, or ethOS. Windows has the benefit of better driver support for your graphics cards and EthOS is a plug and play solution for anyone who doesn’t know Linux and isn’t trying to learn.
But half the reason I wanted to set up an Ethereum mining rig in the first place was to give myself an excuse to learn Linux, so I decided to set up my software the hard way. First I had to download and install Xubuntu, a lightweight version of the popular Ubuntu Linux distribution, onto my motherboard. This involved writing a Linux disc image file to a 32 GB USB stick, and plugging that USB stick into the motherboard. Easy enough.
Next, I had to download the graphics drivers for my AMD GPUs so that they could communicate with the motherboard and do parallel processing. These drivers are free on AMD’s website and their installation is easy enough using a few commands in the Ubuntu terminal. Finally, it was time to download Geth, which is program used to implement commands on my Ethereum node. After downloading the blockchain and pointing my rig to a wallet I had already set up on Mist, it was time to start mining.
This is what the mining terminal looks like on ethOS:
Out of the box, my 6 GPUs had a total hashing power of around 120 MH/s—that’s 120 million hashing operations per second. By tweaking the settings for my GPUs, I hope to increase this to between 125 and 130 MH/s, but that’s about as good as I’ll get with these cards. This may sound like a lot, but the total Ethereum network has a hashrate of around 39.1 TH/s at the time of writing. That’s 39 trillion hashing operations per second, which makes my rig just a drop in this ocean of computing power.
Since Ether is rewarded based on discovering the correct nonce, the odds of this happening increase the more hashing operations you are able to work through each block. If I were to try to do this on my own using my rig, it could be months before I ‘won’ a single block.
Most other miners are in the same boat as I am and don’t have access to huge mining farms like Genesis. So to increase their odds, small miners band together in mining pools, which combine each individual miner’s computing power to hash blocks. With combined computing power, mining pools are able to solve a block every few minutes, and the reward of this block is distributed to the miners in that pool in proportion to the work they did to help solve it. This means you might make only a few thousandths of an Ether each day, but over time this adds up—especially if the price of Ether keeps increasing.
Each pool has different requirements and fees for joining. Although I am only contributing 120 MH/s to the pool I joined, this will result in about 35 Ether per year for my rig. Based on the mining difficulty and price of Ether at the time of writing, this should be nearly $8,000 per year after electricity costs.
So there you have it—a total Linux n00b with no previous PC building experience was able to get an Ethereum mining rig up and running with minimal difficulty (aside from some faulty hardware). So maybe building a PC isn’t so hard after all.


